Sorry for the lack of posts. The current project I am working on has taken up all of my free time. Which is quite unfortunate because I have left some things on the back burner. Hopefully next week I will have posts up about Yvaine or a skirt. I am unsure at the moment. We will see.
This is the easiest post I could make. The skirt was easy. Although, I made a minor mistake that I rectified when I watched it again. Throughout the movie and promo pictures and all costumes I have seen of this during my research, I never once noticed the slit in the side of her skirt. It wasn’t until after I finished the skirt and was binding the corset that I looked up and saw the slit.
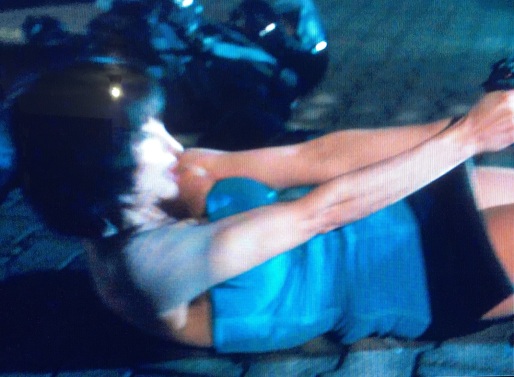
That’s when I paused the stitching of the binding and started back on the skirt by cutting the bottom edge off. I went back to Joanns to get more of the sateen in grey to finish. This time only 4 inches. Which was more than enough. Onto that bit later. Here is the image I captured while watching the film. (I don’t own the rights to the image. If the studio wants me to remove it I will. If that happens I will write where I see the slit in the skirt. But I am hoping the image will provide no spoilers. {Most have seen the movie anyways, I am just not a fan of spoilers.})
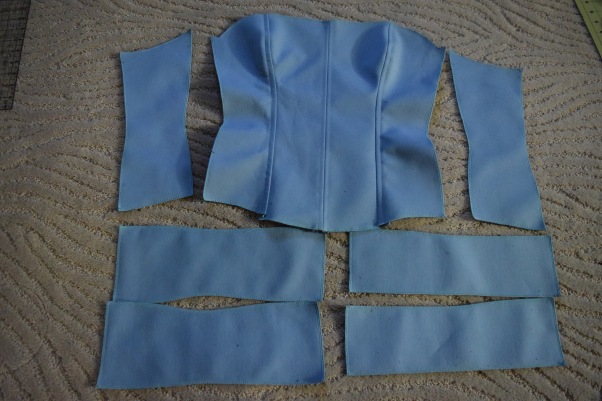
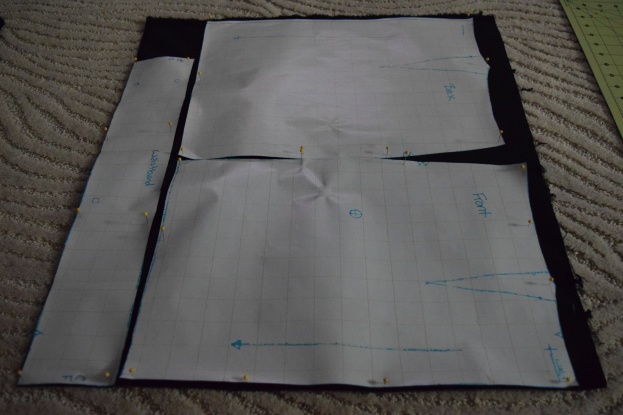
The skirt pattern started out as a pair of shorts. A vintage inspired pattern from simplicity. Like usual I cut out 4 sizes too small. If you have never made the pattern before or know how the sizing is from that company make a mockup. I know simplicity runs large. So even though the pattern says I am anywhere between 18 and 20 on the back of the envelope depending on bust or waist or hip, I usually cut a 14-16. Here is what my modified pattern looks like.
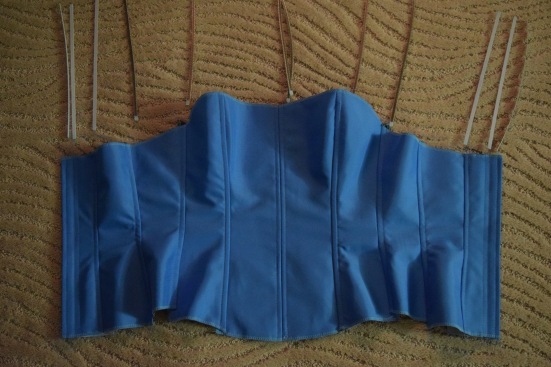
The first thing I did after cutting out the material was to mark the darts and sew them.
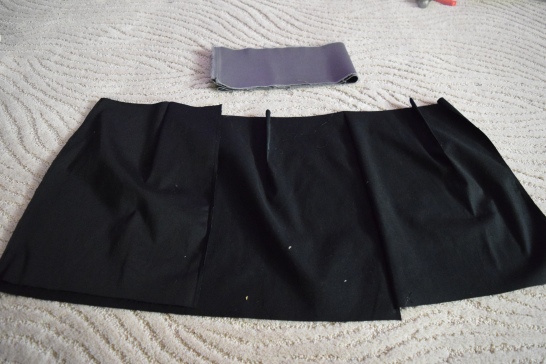
The two back skirt pieces are on the right while the front piece is folded in half. Then I placed these with right sides together and pinned them in place.
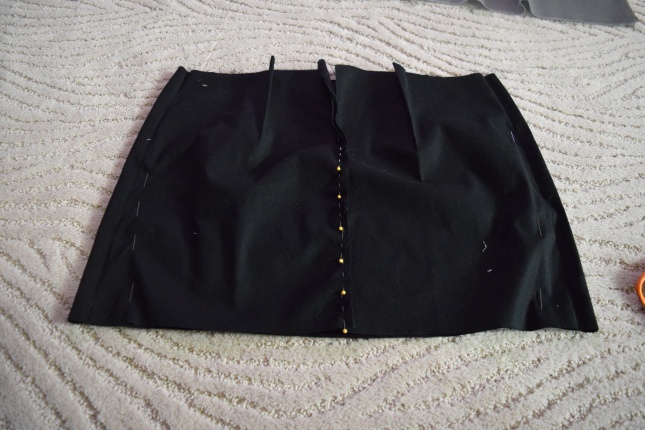
Sew the skirt of the skirt, not the back. We need to install a zipper in the back. With the sides sewn pin the back pattern together. And try on the skirt. I was shocked when I realized the pattern didn’t fit. It was too large. They put a lot of ease into the tight fitted shorts than I thought there would be. So, to help with this I pulled the skirt tight on one side and pinned and then repeated the same with the other. Until it was tight against my legs.
Remove the skirt and straighten out the pins on either side to make them even and try on once again. It was better. Still loose. But I figured I would need the zipper at this part to get it right.
This shows how long I pulled in the bottom of the skirt. I kept the hips and waist the same because I would like to have the waistband on and zipper to get the correct fit over the waist and hips. (I should have just taken in the darts anyways before inserting the waistband. Because I am not too keen on tearing the waistband off the skirt and starting over with the zipper.)
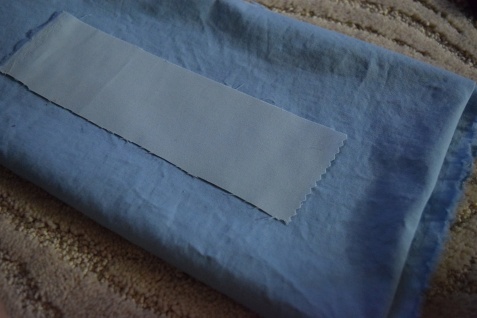
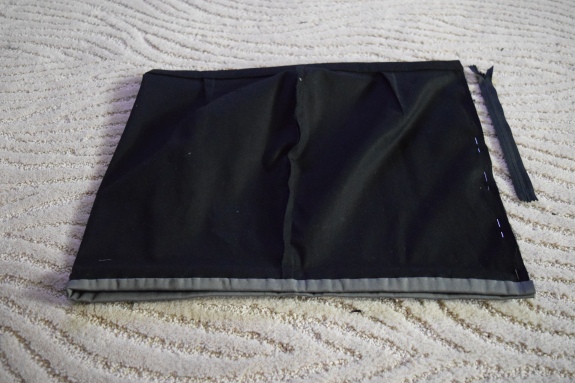
Before attaching the waistband or zipper though I thought it was time to add the grey band at the bottom of the skirt. The grey band is just a rectangle of fabric. I folded it and sewed it in place.


Now was the time to attach the waistband and zipper.
The package of the invisible zipper will tell you how to install it better than I can.
And with that I thought I was done. This was going to be simple and easy…
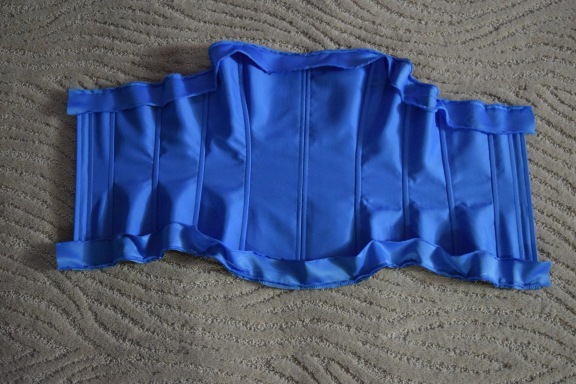
Until the slit in the fabric while watching the show and sewing the binding of the corset. As pictured above I knew I needed to make it more accurate.
The easiest way I could think of was to remove the bottom of the skirt. I cut the grey bottom strip off the skirt and purchased more to finish the skirt.
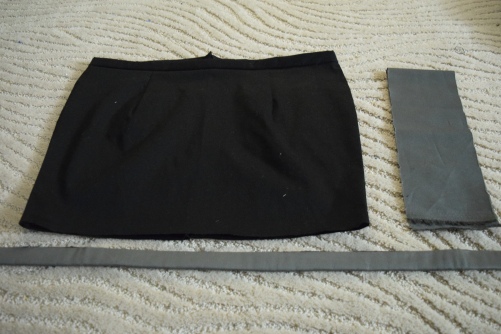
Before you add the new grey strip to the bottom you need to seam rip that thigh slit. The slit should be on the right side. Once you rip up the seam stitch the top with a few back stitched and a small square to help reinforce the slit and stop the stitches tearing further up the thigh.
Here is where I attached the grey strip to the outside like you would bias binding, and stitch it down with a straight stitch, the length of the stitch is up to you.
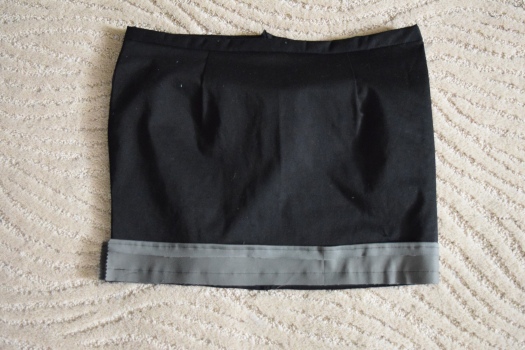
I folded the fabric inward to hand sew the edge shut.
The only raw edges should be the seams and the darts. I do need to take it in at the waist and the hips. If I wasn’t wearing a corset with this the skirt would have issues staying up. But since I accidentally bought enough material to make another one I may just modify my pattern again to fit better. That or go for a more stretchy fabric. As long as the fabric I chose had both a grey and a black.
Although since the top is corseted there is no issue with leaving the skirt as is, except the added bulk in the middle section from the extra fabric. But for now, I am not bothered to start over again. If I do, there will probably be another post about this creation.
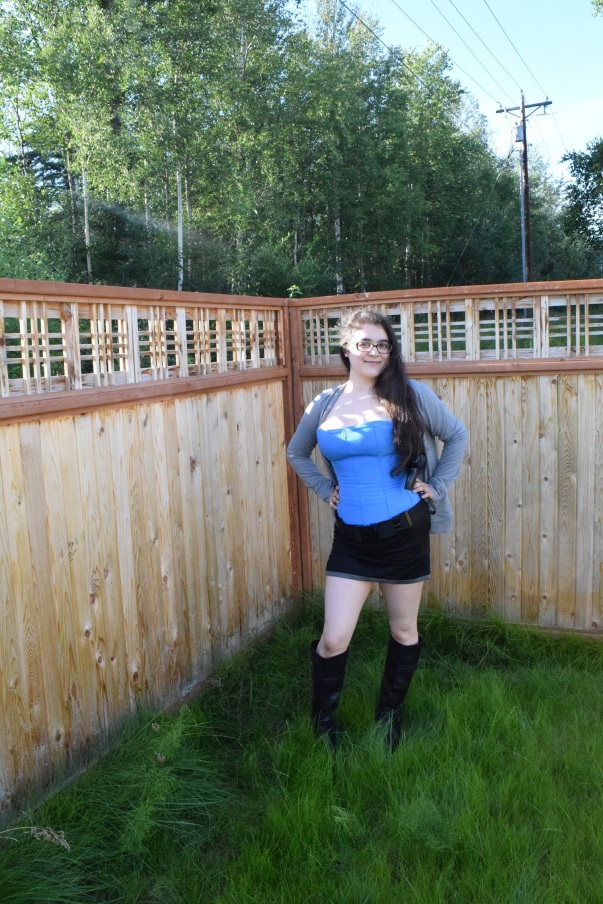
Here is a picture of the finished costume. The sun wasn’t behaving that day and the images are hard to see.
But onto another project. Stay tuned to find out what it is about. Thanks for reading.